
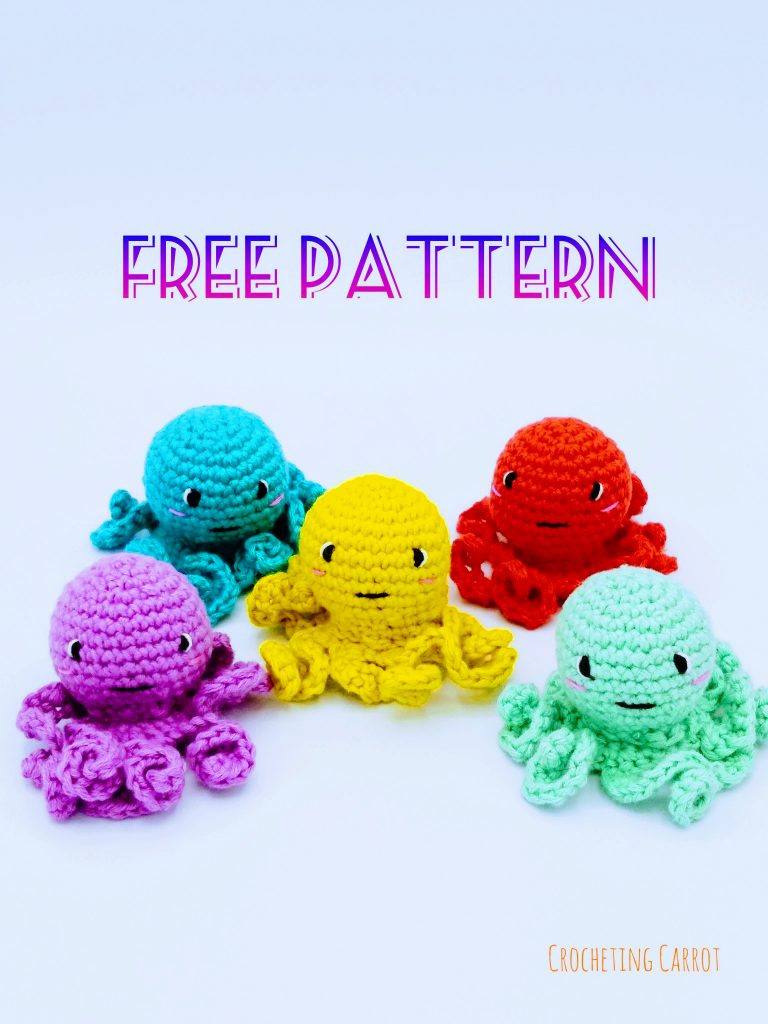
When I created this pattern, my goal was to make a fun little amigurumi keychain. So, I started out sketching keychain ideas for my blog. I was drawing out anything that came to mind. I drew a cute little octopus and decided I would start with that. So, I got my hook, yarn, and notebook and went to work. My first attempt was cute but needed some improvement. As I kept working on the pattern, I decided to leave them as cute little squishies instead of making them into key chains. But you can make the octopus into a cute keychain too!
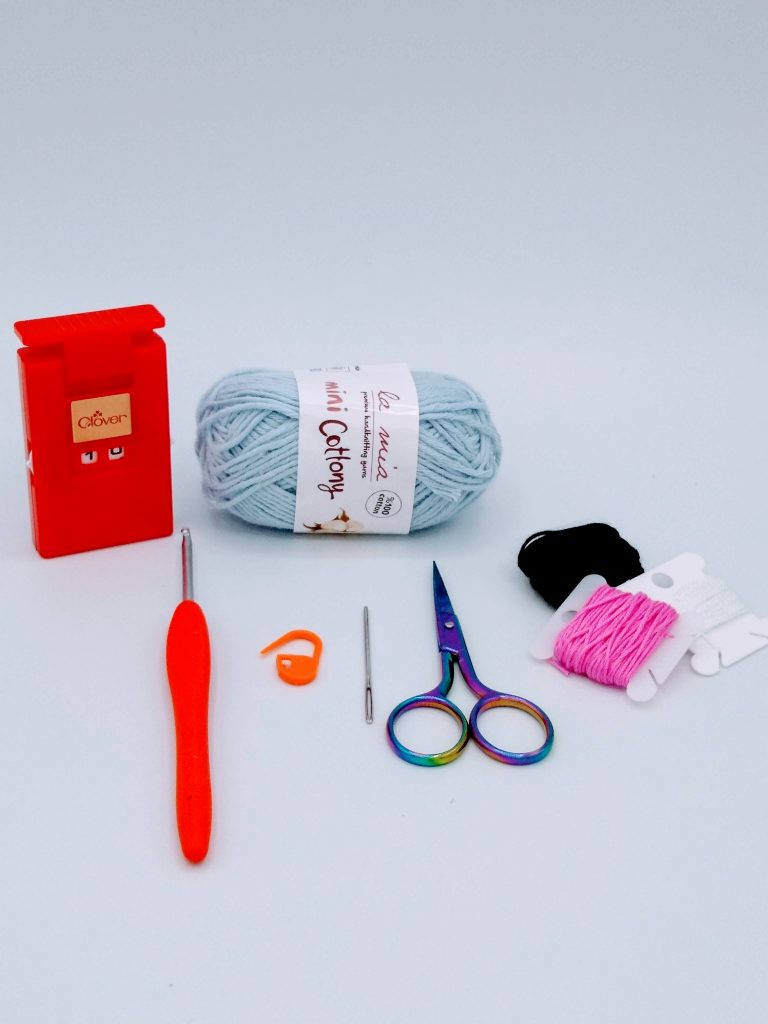
Let’s Talk Materials
This octopus pattern is a free, beginner-friendly pattern for amigurumi enthusiasts. I used a light #3 cotton yarn by La Mia and a 3.5mm hook when making them.
I often prefer to embroider the faces on my amigurumi versus always using safety eyes. This is because sewing on the eyes can give the toy more character. But, of course, if you are more comfortable using safety eyes, you can do so with this pattern.
You’ll also need some toy stuffing, a yarn needle, and a pair of scissors.
Head’s Up On The Pattern
This octopus is crocheted in the round with minimal sewing required. The head is crocheted using the yarnover method. The special stitches needed for this pattern are the half-double crochet and the invisible decrease. The invisible decrease is when you place your hook into the front loop only of the two stitches you want to decrease. I use the invisible decrease to prevent unwanted holes in the work that a regular decrease will leave. Whenever I make amigurumi toys, I like to make sure my amigurumi is stuffed well. Over time you’ll find that the stuffing will break down, and the toy will become more flimsy.
The bottom half of the octopus can get a little confusing. You’ll start with a magic ring, and when you get to the legs, you’ll single crochet in the first stitch and chain twelve in that same stitch. You’re then going to place two single crochet into each stitch, going back down to the base of the round. This will give each leg a little curl effect. The next step in the pattern will be to place one crochet between each leg. In the end, you should have eight legs with one single crochet in between.
You’ll sew the head to the center of the legs and weave in the ends to finish. Last but not least, you’re going to want to embroider its cute little face.
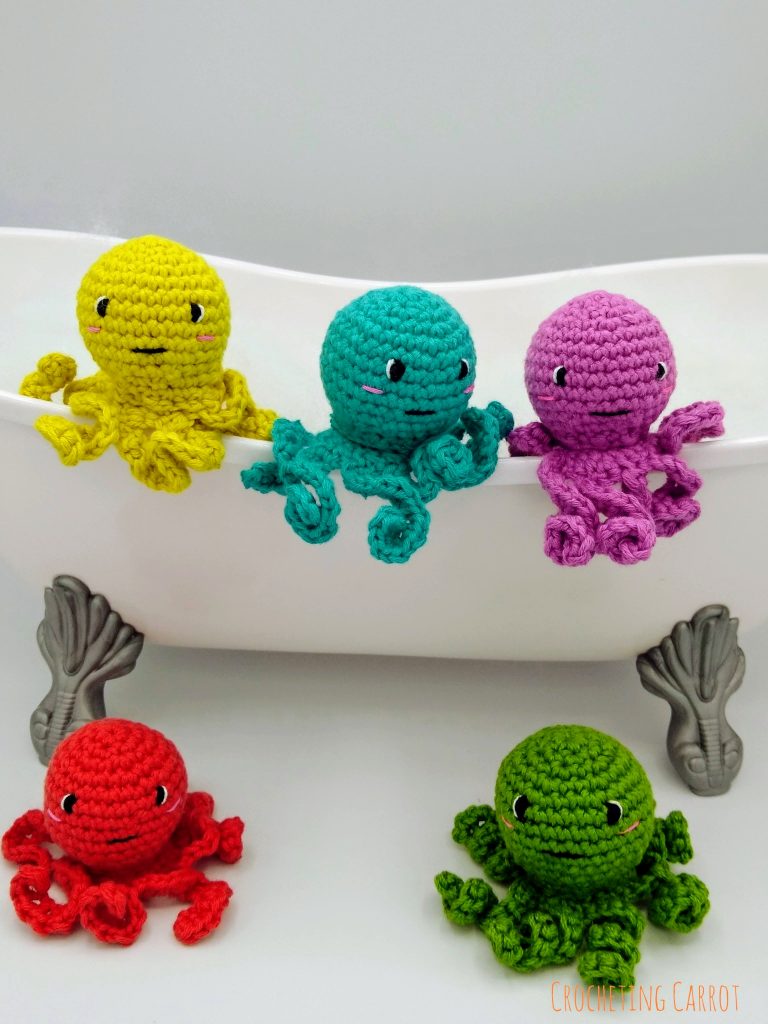
What To Do With All These Octopies!?
The design is a great beginner-friendly pattern that works up super quickly once you get its hang. I think what I loved most about working on this pattern was all the ways you can use the finished project. Also, they can make a great little friend because they are only 3″ tall when finished.
Here are a few ideas I came up with for using the finished project: A key chain for a child’s backpack or purse. Recognition of colors for early child development. A worry buddy to help take those worries away—a fun little cat toy for your cat. Maybe a little friend in a crochet aquarium. The sky is truly the limit when making these. I hope you enjoy this free pattern!
If you plan on making this pattern, I would love to see them. If you post on social media, please tag me on Instagram or Facebook @crochetingcarrot or #crochetingcarrot. If you’re on Facebook, please stop by my Crocheting Carrot page. You can also find Crocheting Carrot on Pinterest.
Happy Crocheting Journey!