
Summer is here! Whenever I think about summer, I think about all the remarkable sea creatures in the ocean. One of my favorite sea creatures is the sea turtle. Did you know that the sea turtle symbolizes endurance and peace? Turtles get their endurance from fighting to live so long. But, turtles are not fighters themselves and are peaceful species.
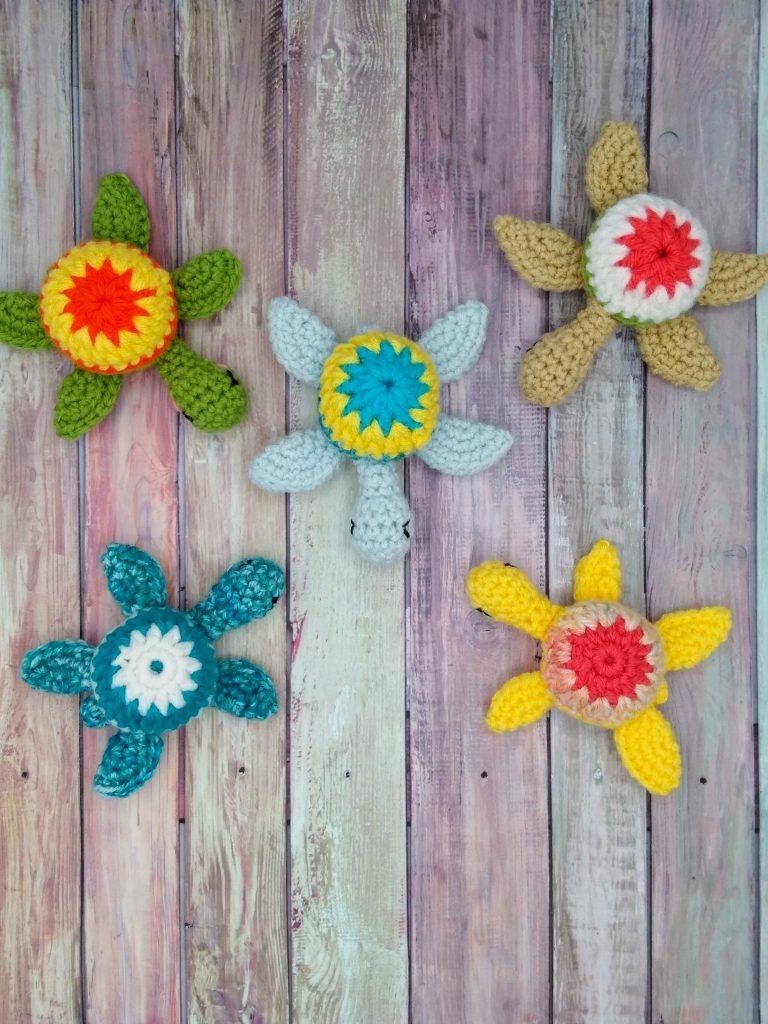
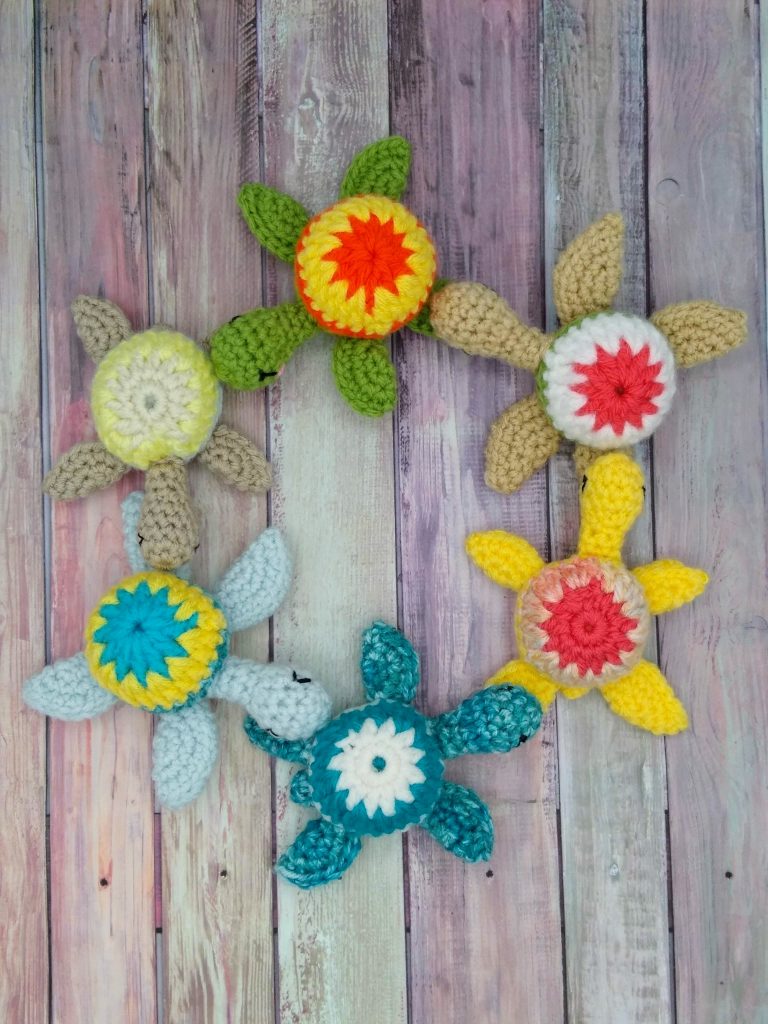
Today, we’ll talk about these cute little colorful crochet sea turtles. These turtles are a fun, easy, beginner-friendly project that whips up quickly. This pattern is free and suitable for kids of all ages. These turtles are about 4″ long, making great toys for kids or small pets. This sea turtle pattern also makes a great key chain for your child’s backpack. I hope you’ll enjoy making this turtle pattern as much as I had creating the design.
Kowabunga!!! Let’s talk materials needed.
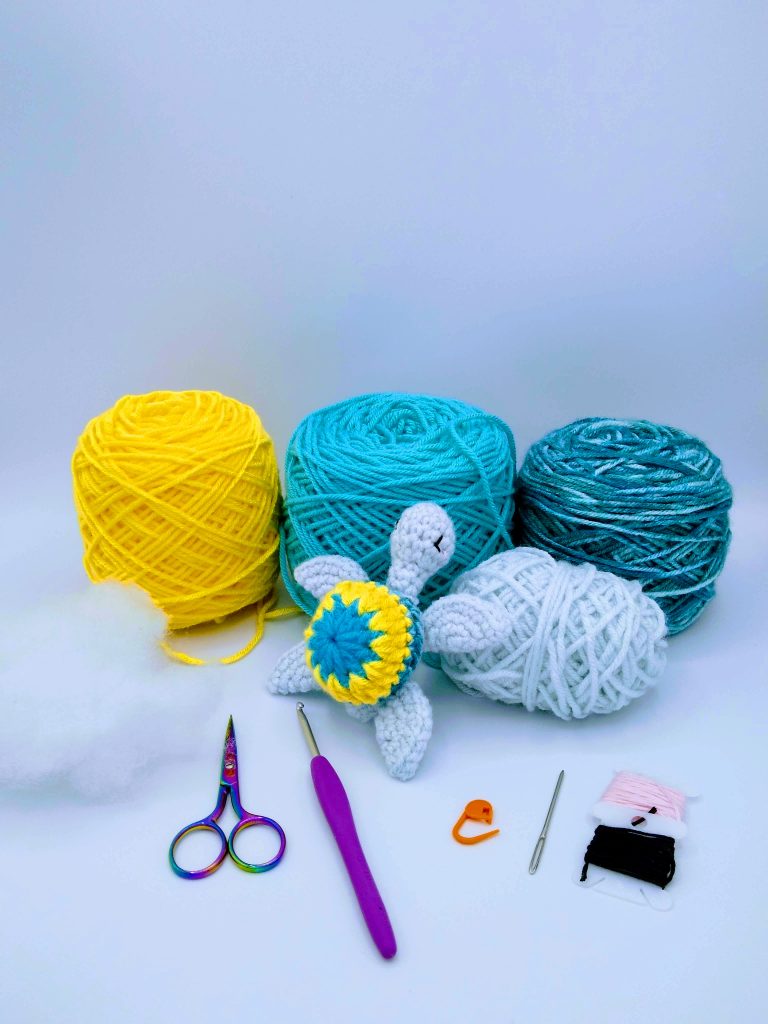
When I created this pattern, I wanted to use some of my leftover yarn from other projects. I mostly crochet my amigurumi animals with #4 worsted weight acrylic yarn. So that’s what I used to make these little turtles. But, of course, if you crochet most of your amigurumi with cotton yarn, you can certainly use that. Since these sea turtles are a stash-busting project, you’ll only need a tiny bit of yarn to make them. I used four different yarn colors for this project. You’ll need three colors for the outer shell of the turtle and one more color for the turtle itself. If you plan on making these for a pet, you’ll want to use cotton yarn instead of acrylic.
Other materials needed for this project are a 4.0mm (G) crochet hook, toy stuffing, scissors, tapestry needle, and black & pink embroidery thread.
Tubular!!! Let’s explore the pattern.
This pattern is a simple crochet pattern for beginner amigurumi makers. However, you shouldn’t have a problem with this design if you’ve crocheted amigurumi animals and can read a crochet pattern.
There are five steps to making these turtles. These steps include making the outer shell, inner shells, head, legs, and tail. My sea turtle pattern was written using US crochet terminology. You’ll need to know how to do the double crochet (dc) and the single crochet (sc) stitch.
Unfortunately, unlike my octopus pattern, which requires minimal sewing, these turtles have more body parts for sewing. Therefore, I like to use a whip-stitch to sew the shell portion of the design. I also use a whip stitch for sewing the legs together. The whip stitch gives the body and legs a cleaner finish. Finally, I do a regular sewing stitch for the head, tail, and legs.
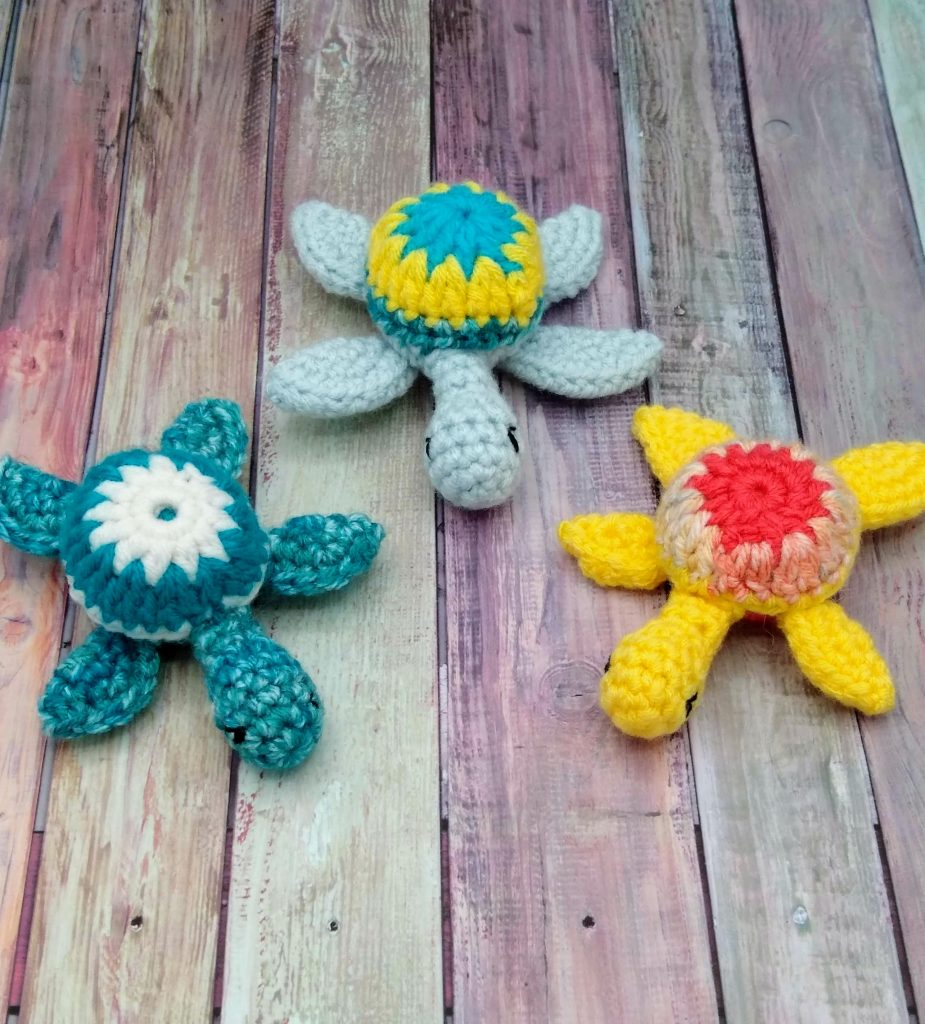
There is no right or wrong way to embroider a face on your amigurumi. For the face of my turtle, I begin by sewing the eyes with an upside-down v on each side of the face with black embroidery thread. Next, I add a little pink thread to the cheeks of the turtle for color. Finally, I add a little smile to its little face. So, have fun when it comes to embroidering a face on your amigurumi. The best part of using embroider thread is that you can easily remove it if you don’t like how it looks.
If you plan to make these colorful sea turtles, I would love to see them. If you’re going to post pics of this pattern on social media, please tag me on Instagram or Facebook @crochetingcarrot or #crochetingcarrot. If you’re on Facebook, please stop by my Crocheting Carrot page. You can also find Crocheting Carrot on Pinterest and Ravelry.
Happy Crocheting Journey!