
Hello there, this post may contain affiliate links which means I may receive a small commission for purchases made through links. I will only recommend products that I have personally used. I greatly appreciate your support!

How to create and design your amigurumi pattern is a question that I often hear about from amigurumi makers. And why not? Selling patterns is a great way to make some supplemental income.
When I started my journey, I would spend hours crocheting patterns from various designers. This was a great way to learn the multiple styles designers use. How they wrote their designs, and how they created the different shapes. I found that crocheting patterns from various designers helped grow my amigurumi skills.
Once I understood the craft of amigurumi making, I thought it would be fun to create patterns to share with my readers. With my daughter off at college, designing and selling crochet patterns for supplemental income sounded pretty good.
But don’t think that designing a pattern is a piece of cake. Creating a design takes a lot of time and patience. I’m sure every crochet designer has their creative process when making a crochet item. But I’ll walk you through the seven steps I use in designing and creating my amigurumi patterns.
Step 1: Sketching Out the Idea
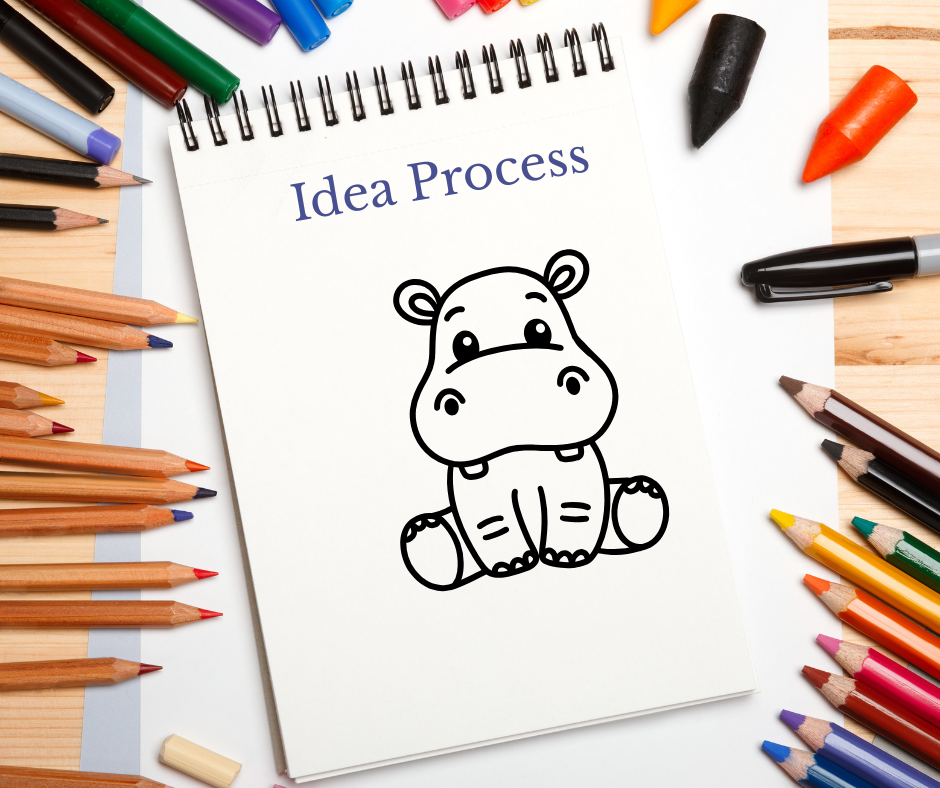
Whenever I get a crochet idea, I like to sketch it out. I recommend having a sketchbook or drawing tablet handy. Sketching out your ideas is a great road map to how you’ll create the results. As you draw out your toy, ask yourself: What shapes will I need to crochet for each piece? What color yarn will I use?
Drawing out ideas will keep the idea fresh and make designing easier.
Step 2: Plan Out Supplies for the Project

Planning out what supplies to use for the project is my next step in creating and designing an amigurumi.
This is where I decide how I want the results to look. What shades of yarn to use? How big do I want my amigurumi to be?
I decide what kind of yarn to use: cotton, acrylic, or chenille. Next, I choose the crochet hook size I may want to use for the pattern. When choosing a hook size for amigurumi, I find that going down a hook size from the yarn package recommendation is best. Finally, I decide whether to use safety eyes or embroider the eyes on my toy.
You’ll want to make sure that you keep track of all materials used so that you can add them to your material section of the pattern.
Step 3: Write Down the Process

A pad of paper and a pencil are essential when designing a pattern. As you begin to crochet your piece, write down the entire process. Include the rounds for each step and the number of stitches in each round. If you’re creating a no-sew pattern, add the steps of joining the pieces into the design. For sewing patterns, make a note of how you sew each piece on.
When I create a pattern, I write down each step as I crochet it. I then like to go back and recreate it using my written instructions. I want to make sure that the pattern makes sense. I wait a day or two and recreate it again to ensure I’ve written all the steps needed to create the piece.
Step 4: Take Lots Of Photos
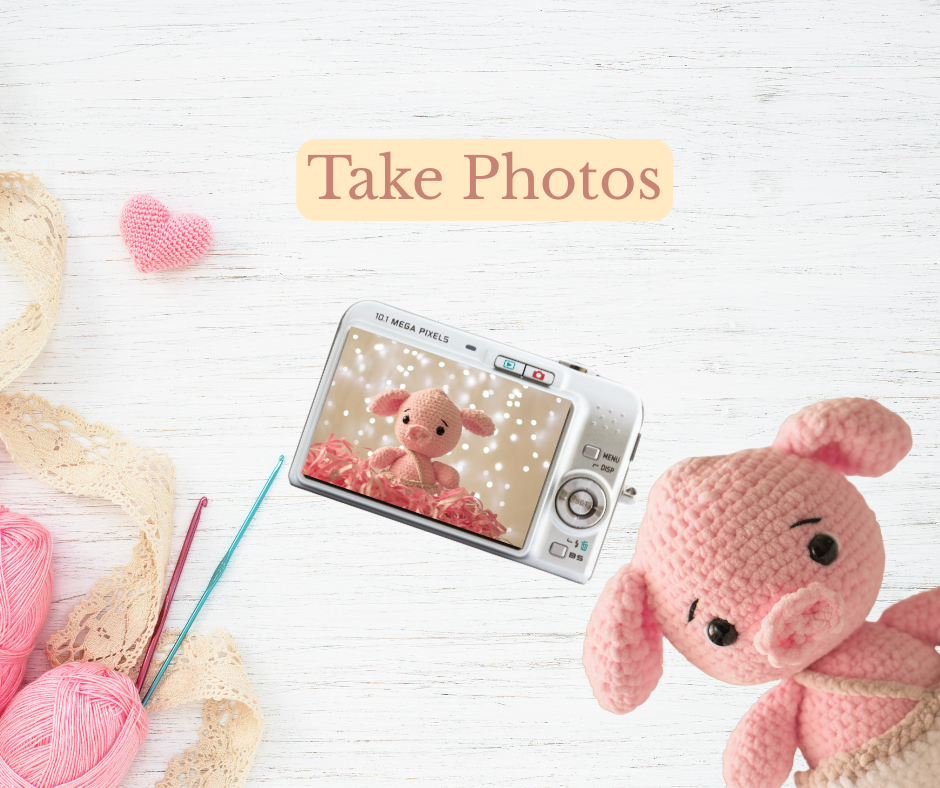
Photos are critical to a good crochet pattern. Showing an image of specific steps in your crochet pattern can be very helpful to crocheters who are making your design.
When I design patterns, I like to take clear photos of the steps that may be confusing for crocheters. I highly recommend investing in a photo light box for a more professional-quality picture.
You’ll also want to take lots of cute pictures of the finished product when you post it on social media. Again, a photo light box or natural lighting works great for this.
Step 5: Type Out the Pattern
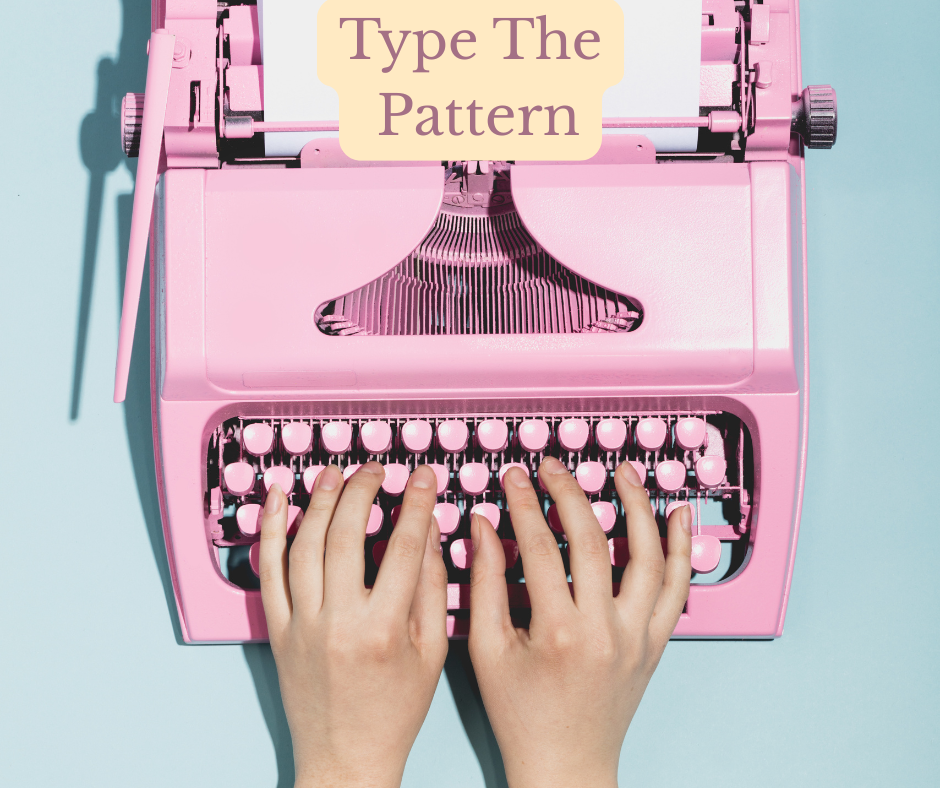
If you’ve crocheted other designers’ patterns, you probably know the formula for typing the design. Start with the pattern’s name, picture, and a summary of the item that will be crocheted. Next, include the materials needed, the abbreviations, and notes of any special stitches or things the crocheter needs to know.
Begin to type out the step-by-step instructions and add any step-by-step photos to help clarify what you are telling the crocheter to do.
And lastly, add a brief copyright statement on what is and isn’t prohibited with your pattern and photos.
Step 6: Have Your Pattern Tested

Before selling your design, you may want to consider having it tested. No one wants to pay good money for a pattern that doesn’t make sense.
What and how to test a pattern?
Pattern testing is when you share your written design with other crocheters and have them try out the pattern to see if it all makes sense to them. There is no cost to you to have a pattern tested. The designer will usually give the tester the final copy of the pattern for free as a thank-you for testing. It’s a great win-win for the designer and tester.
So, where do I find pattern testers? You can find pattern testers on Facebook or Instagram groups. If you are part of a crochet or knitting group, you can also ask if any members would be interested in testing your design.
Step 7: Selling Your Pattern

Now that you’ve created a pattern, it’s time to be noticed in the crochet community. There are tons of sites out there to sell your patterns. Many sell their patterns on Etsy, Ravelry, and other crocheting sites. Getting a pattern out there will grow recognition in the crochet world.
Again, selling your original pattern will not only get your name out there but also earn you extra money.
There you have it! These are the seven steps I use to create my amigurumi patterns. I hope you can find inspiration in them and start making your own amigurumi designs.
Happy Crocheting Journey!