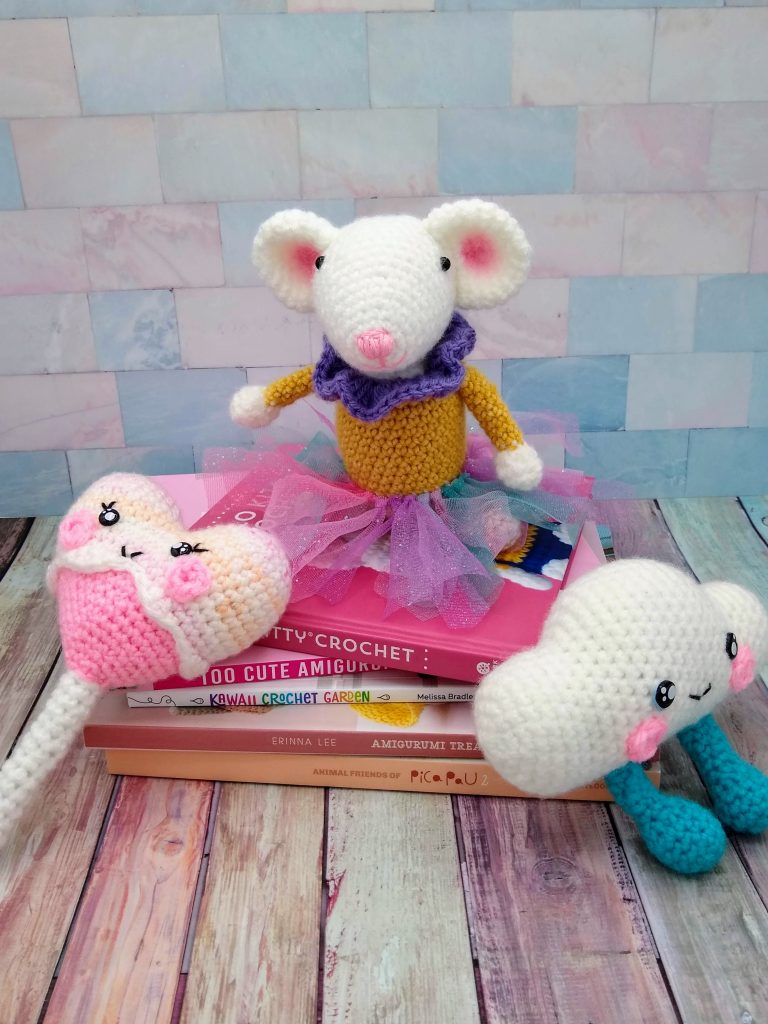
Reading an amigurumi pattern can be challenging, especially for beginner crocheters. Just skimming through an amigurumi book can be overwhelming. I know because I’ve been there too!
I’ll walk you through everything you need to know to get you started reading those cute amigurumi designs. We’ll talk about how the designer writes out the pattern, the crochet stitches you’ll need to know, and special crochet stitches that may not be discussed in all amigurumi books and patterns.
First Steps In Amigurumi Patterns
Mainly all amigurumi patterns will start with an introduction to the animal or doll you’re going to crochet. In addition, each pattern may have a skill level for the design, materials needed, and some designers even include an abbreviation stitch guide on each pattern. Finally, all crochet books will have a technique section to help you with special stitches or sewing tips, like hair, faces, and sometimes body parts.
Each part of the amigurumi toy is divided into sections. Usually, you start with the body, the head, arms, legs, and the tail. Some amigurumi patterns, but not all have step-by-step photos to help you with any tricky project sections.
Understanding The Pattern
You may notice that some crochet patterns are written out differently from other crochet patterns. That’s because each designer has their flow of writing out their designs. So let’s break down the various ways amigurumi patterns may be written.
Most amigurumi patterns start with a magic ring or circle and are increased and decreased by a multiple of six. So when you see a number in parenthesis or brackets at the end of the round Ex. (6), [12], etc., that’s the number of stitches you should have at the end of that round.
I will show you examples of how a pattern may be written and break it down. Once you get the idea, you should be a pro at reading various designs.
If a pattern round has parenthesis (), brackets [], or asterisks **, whatever is in that section must be repeated more than once. The round will indicate the number of times you will need to repeat that section. Here are examples of how the pattern may be written using these symbols.
(sc in the next 2 st, inc in next st) repeat 6 times [24]
[sc in the next 2 st, inc in the next st] 6x (24)
*1 sc in the next 2 sts, 1 inc in the following st* (six times) 24sts
These three examples mean the same thing; they are just written differently.
So what is the pattern telling you to do? They are telling you to do the following;
1 sc (first stitch) +1 sc (next stitch), +(1 sc +1 sc into the third stitch); repeat this step 6 times, and you should have 24 stitches in that round.
Let’s do another example of how a crochet round may be written.
3 sc, 1 dec [6 sc, 1 dec] 5 times, 3 sc (42 sts)
3 sc, sc2tog [6 sc, sc2tog] 5X, 3 sc (42)
3 sc, dec, *6sc, dec* rep from * 5 times, 3 sc (42sts)
Again these three examples mean the same thing; they’re just written out differently.
Lets break this down; 1 sc (first st) +1 sc (next st) + 1 sc (third st),+ 1 decrease (dec) stitch, [1 sc+1 sc+1 sc+1 sc+1 sc+1 sc,+ 1 dec] repeat this 5 times, 1 sc + 1sc +1 sc = (42 sts)
If you are new to reading crochet patterns, make sure you know the pattern’s terminology. Some crochet books will be written in U.S. terminology, and some will be in U.K. terms. For example, in a crochet pattern, a single crochet (sc) U.S. term and double crochet (dc) U.K. terminology means the same.
So let’s try one more example of how a crochet pattern round may be written.
(Sc2inc) 6 times, 1 sc in the next 6 sc (18 sts)
[Dc1inc] 6x, dc in the next 6 dc (18 sts)
These two examples mean the same thing; the only difference is that one is written in U.S. terms, and the other is in U.K. terminology. But let’s simplify it so you can better understand what the pattern is telling you to do.
(1sc + 1 sc) in the same stitch; repeating 6 times, + 1 sc +1 sc +1 sc +1 sc +1 sc+ 1 sc in the next 6 stitches =18 sts
By simplifying what the pattern tells you, you can better understand what the designer wants you to do for each round.
Essential Stitches For Amigurumi Making
When It comes to crocheting amigurumi, the most common stitches are the following; single crochet (sc), increase (inc), and the decrease (dec) stitch or single crochet 2 together (sc2tog); this is another way the decreasing stitch is written in a crochet pattern.
An increase (inc) stitch is done by placing two single crochet into one stitch. A decrease (dec) stitch is done by inserting your hook in one stitch, yarning over, and drawing up a loop; inserting your hook into the next stitch, yarn over, and pulling up a loop; you should have three loops on the hook. Finally, yarn over and pull through all three loops on the hook.
Other stitches that may pop up in amigurumi patterns are the slip stitch (slst), back loop only (Blo), and front loop only (Flo).
When it comes to crocheting, the most common way of learning to crochet is to use the yarn over (YO) method. But, most amigurumi designers will use the yarn under (YU) method when crocheting an amigurumi. When using the yarn under technique, your crochet toy will have a puffier stitch and a little x stitch versus a v stitch. In addition, the yarn under method makes a tighter stitch, so you’ll want to go down a hook size when crocheting. You’ll also have fewer holes in your finished amigurumi.
Few new amigurumi makers know about a special crochet stitch: the invisible decrease (inv dec). This is where you insert your hook into the front loop only (Flo) of the two stitches you want to decrease instead of inserting your hook into the whole stitch. Not all amigurumi patterns and books mention the invisible decrease, but this stitch will help with holes in your project that a regular decrease will leave.
Conclusion:
When it comes to reading amigurumi patterns, the one thing to keep in mind is that majority of the designs are increased and decreased by multiples of six. An amigurumi pattern usually starts with placing six single crochets into a magic ring or circle and increasing each design round by six.
When the crochet pattern gets confusing, try writing out each stitch from that round to see if you understand what the designer is asking you to do. Then, of course, you can always refer to how I break down the crochet pattern rounds in this post.
Remember that all designers have their way of writing out the steps to their design. Although, for example, crochet patterns use parenthesis, brackets, or asterisks to break up certain design sections, don’t forget that these symbols are meant for that section to be repeated.
And last but not least, even though most amigurumi artists may use basic crochet terminologies like single crochet (sc), increase (inc), or decrease (dec) in their pattern. You may like to use the invisible decrease (inv dec) for a cleaner result. And, of course, there is the yarn under (YU) technique for making amigurumi toys. That I only wish I had known from the start!
And there you have it! Hopefully, I could guide you through understanding how amigurumi patterns may be written and read. If you found this post helpful, please leave me a comment below!
Happy Crocheting Journey!
